Here it is Chris' Authentic Desk Top Computer of Doom. It was a Compaq
Presario P150 on a 50 mhz bus w/ 16 megs of RAM. I overclocked it
to 200 mhz and a 66 mhz bus, and upped it to 32 megs of ram (I added
ram a few years ago, ocing at the end of day 1) Best over all image
is Sitting on Desk.
Day 1
Top
Mobo
Drives
Cards
Day 2
Top
Top2
Side
Case
Lights
Sitting on Desk
DAY 1
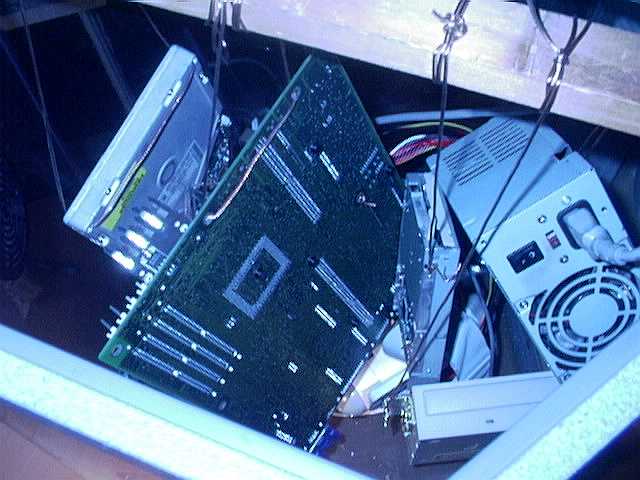
Here's a view from the top.
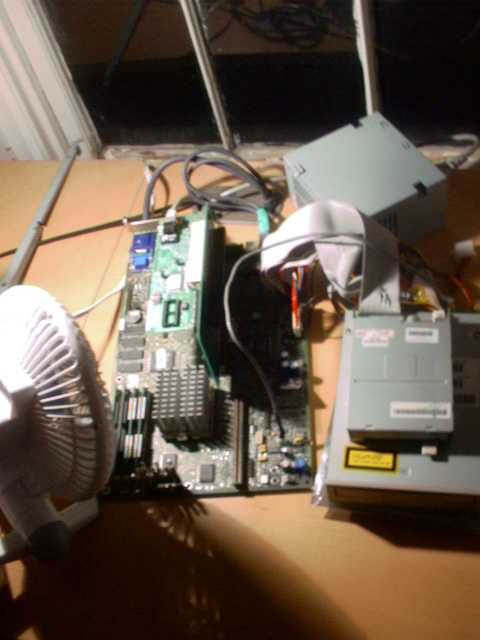
That's the mobo on the left, with drives and power supply on the right.
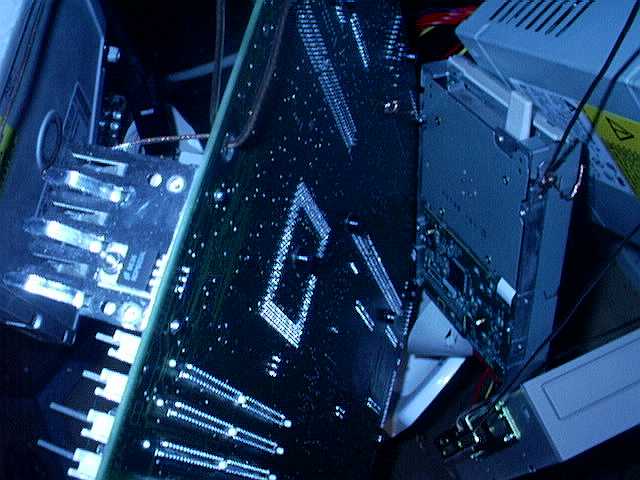
This is a close up on the mobo.
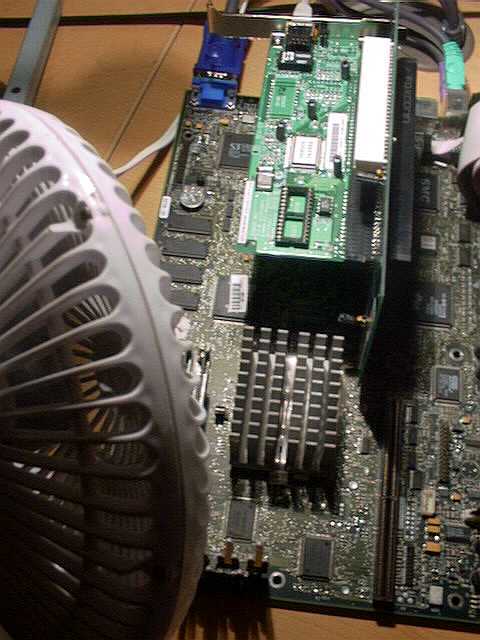
The heatsink was cool to the touch (felt below room temp) with that fan blowing on high from about 5 inches away; even overclocked to 200.
This is a close up of the drive stack, seen on the right of earlier pictures.
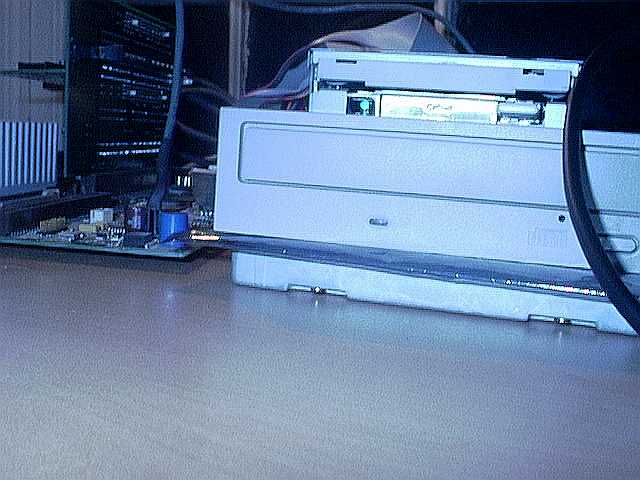
From top to bottom: Floppy, CD, Hard Drive (Yes, it is a 5 1/4)
This is the LAN card, just suspended in mid air.
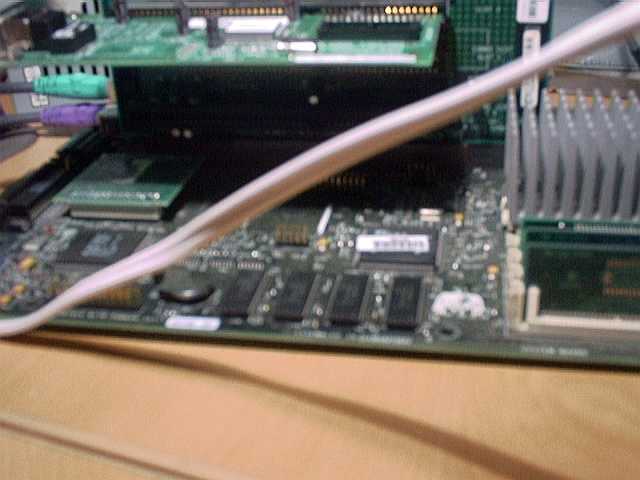
Hopefully it won't fall down. The power cord you see in the middle of the picture is for my cooling system (a regular AC Fan).
DAY 2!
Ok, here's what I did. I suspended every piece of the computer on speaker wire off of a wooden bar hanging in the middle of a large hexagonal terrerium!
This is the top image, yay!
Far left is Hard Dive, then motherboard, then floppy, then powersupply and at the bottom is the CD.
Another image from the top, slightly wider.
You can really see the mad cabling everywhere in this picture.....
This is from the side
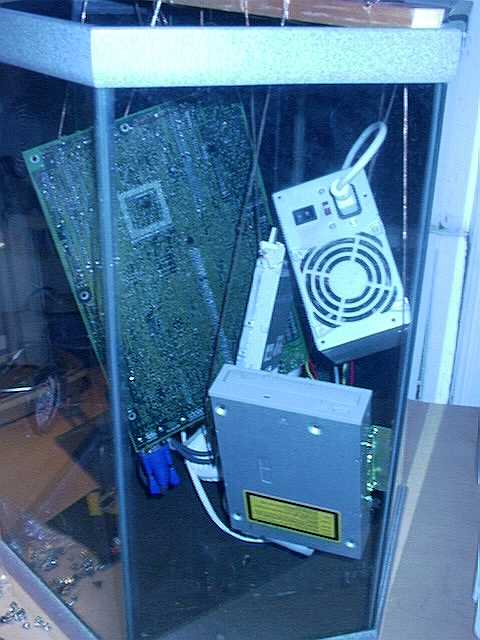
Now you really understand the magic of it all.
Here's my old case...
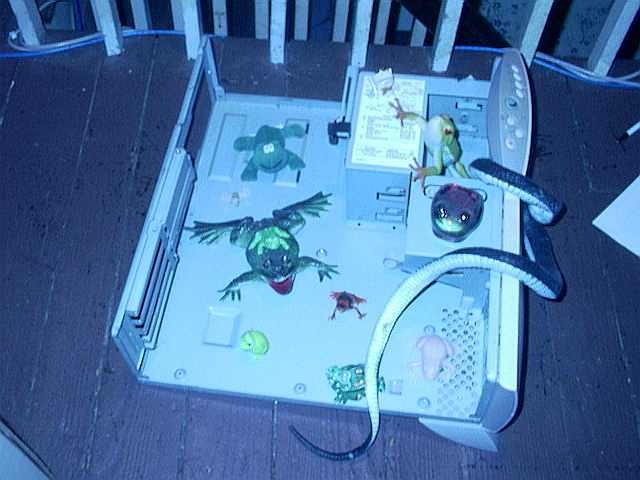
Here is what the old case is being used for.
The lighting system
This is my latest attempt at jazzing up the system. I installed red running lights at each corner of the hexagonal terrerium. I installed this fun switch on the top, so I can turn 'em on and off at will. The only down side of it is that each light is 12 volts DC, 100mA; and the power supply on provides 5V, so the lights barily glow... I tried adding another 5V lead, but it shorted out the system, and the P/S wouldn't start. If anyone can tell me how to do it, and not short out the system, lemme know. Total cost of project ~$7.00.
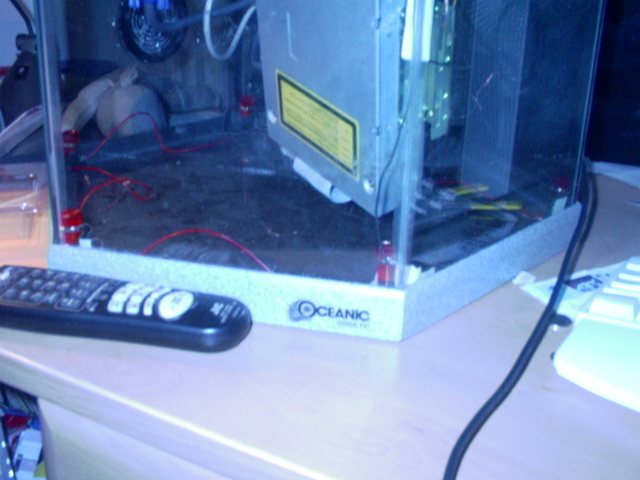
This is the bottom of the case, with the newly installed lights, they're
on, but you can't tell in the light.
Here is the whole Shaband sitting on my desk, there is info on my other computer as well.
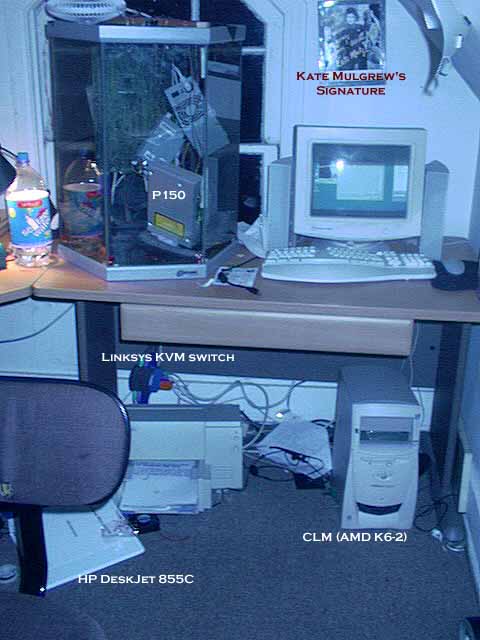
You may notice the fan is now on top, that's because it's only temporary as the fan you see on the floor between the binder and the printer will be installed soon.
I'll tell you how I like it in a few days....
Comments